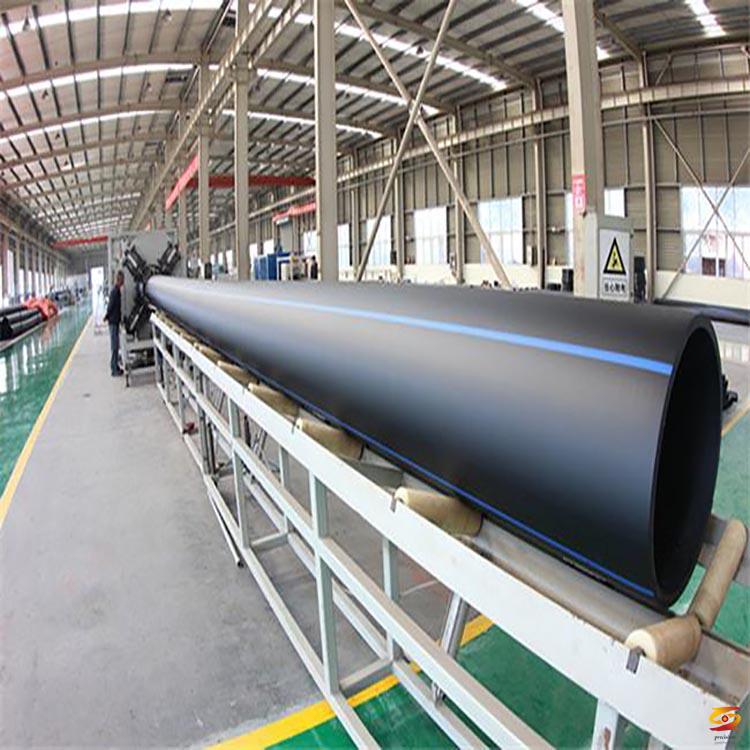
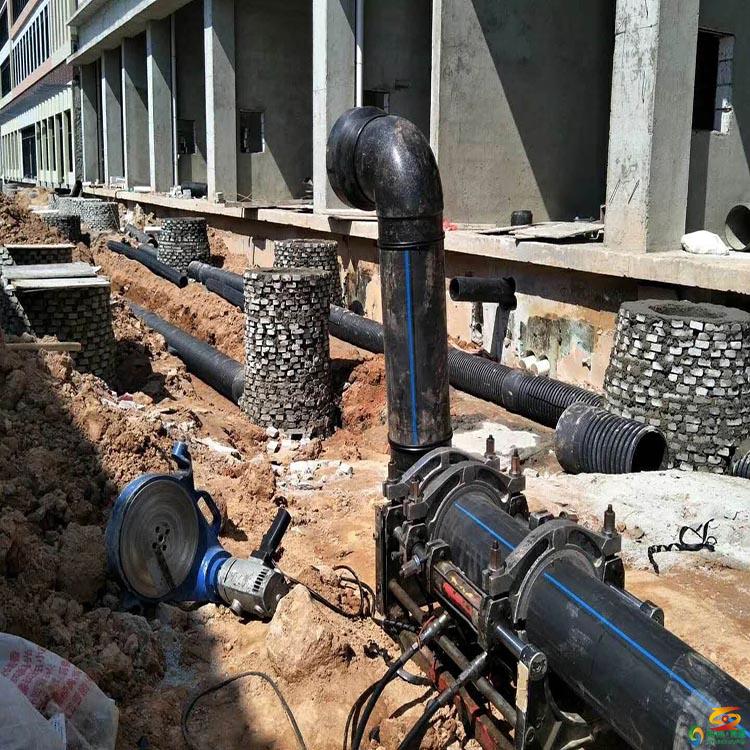
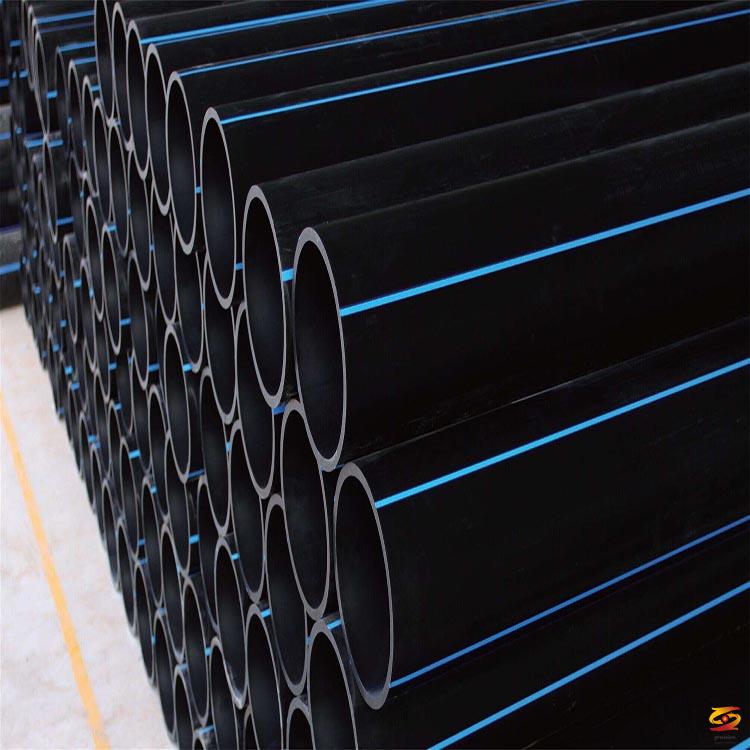
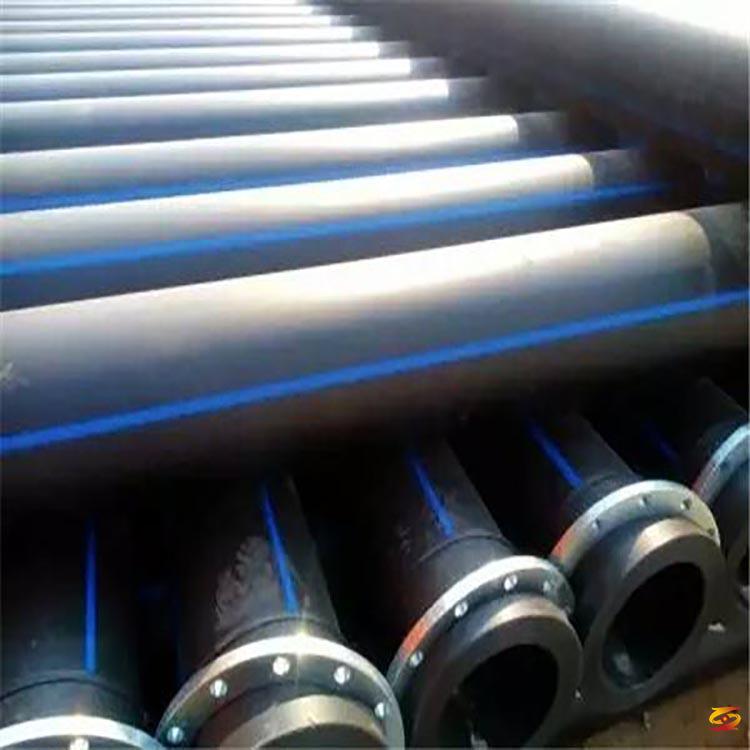
PE water supply pipeline construction process flow
PE water supply pipeline construction process flow:1. Mechanical excavation to the base 20cm
2. Manual excavation to the base
3. The acceptance of the base slot is qualified
4. Foundation Construction
5. Down tube installation
6. Interface
7. Install valves and fire hydrants
8. Masonry inspection well
9. Pipeline pressure test
10. Flushing and disinfection
11. Pipeline backfill
Construction methods and main points of pipeline main process:
Excavation of foundation groove
1: Re-test the position and elevation of the pipeline to be connected before construction, and the construction can be carried out when the design elevation is correct.
(Connect the original pipeline). Implementation of the secondary measurement review system during construction, regular inspections, and do a good job of the original construction
Record and make finished product measurement in time. When grooving, you must carefully understand the current pipelines and other obstacles at the intersection,
In order to take appropriate reinforcement and protection measures during excavation.
2: Excavate the foundation groove mechanically, reserve about 20cm at the bottom of the groove, manually clean the bottom of the groove to ensure that the original soil at the bottom of the groove is not affected by
Disturb.
3: The excavation depth is 1: 0.25 (when the excavation depth is greater than 2.5m, the width of the dial is 0.5m), if the soil quality is poor,
The slope is appropriately enlarged. If the position is limited, necessary support is required to prevent collapse.
4: After grooving, please invite relevant personnel including supervision before installing the down pipe, and the owner can proceed to the next channel after passing the groove inspection
Process. (This project is based on the requirements of the S-R-12 project design change notice of the design institute, and no construction pipe foundation is required.)
Pipeline construction
1: The supervisor adopts ductile iron pipe, rubber ring socket interface, the bridge pipe adopts D325 × 8 welded steel pipe, along the road
The embedded branch pipe adopts D219 × 6 welded steel pipe.
2: The pipe fittings and valves need to be tested and tested before construction, and the pressure level should not be lower than the working pressure of the pipeline.
1.5 times, after the material enters the field and before the pipe is down, the pipe and accessories must be inspected, including the written certificate and physical inspection
check.
3: During transportation, loading and unloading and stacking of pipes, it is strictly forbidden to throw or violently collide. The laying of the pipeline should be done in the inspection slot
It can be carried out after the grid. Before laying the pipeline, the visual inspection of the pipes and fittings should be carried out again. It is found that there is
The pipes and fittings in question shall not be used.
4: When the pipe is lifted and placed in the tank, a reliable soft belt spreader should be used to steadily go down the ditch, and should not be connected with the bottom of the tank.
The tank wall collided violently. Distribute along the groove during piping to reduce secondary transportation, in order to ensure the position of the down pipe
Accurate, you need to place a horizontal ruler with a central scale in the tube. When checking, see the sagging on the center line of the pipeline coordinate
Whether the center hanging line coincides with the center of the spirit level.
5. Pipe section installation:
1. Before installation, first remove the sticky sand and burrs in the pipe and the socket, and remove the oil dirt on the surface of the rubber ring.
2. After passing the tank inspection, the pipe is dropped. In order to prevent the floating pipe from returning directly to the soil where there is no connection in the pipeline, the soil should be returned to the fine soil at the same time to prevent the stones and bricks from damaging the pipeline.
3. When connecting the curing pipe, place a rubber ring in the insertion tube, and ensure that the rubber ring is not warped or twisted, evenly.
If it is stuck in the groove, if there is any damage in it, the socket part should be painted with vegetable oil to lubricate, and then the tube will be inserted from the socket
Gently insert into the socket, straighten the pipe and use a hand hoist to tighten (the insertion depth of the pipe needs to be done at the mouth)
Symbol), the larger turning angle of each socket shall not be greater than 4 ° 21 ′.
6. Pipe tees, pipe piers and supporting piers are set according to the design requirements at the elbows and valves, and 24 hours after installation is completed
Water pressure test, pipeline cleaning and concealed engineering acceptance work should be carried out in time, and all acceptance records should be filled in time,
Simultaneously backfill and layer compaction.
Welding of steel pipes and steel pipe fittings
1: The welding method is manual welding, and the welding conditions are fixed position and rotating position full position welding, and the welding material is according to
It is required to choose E4303 welding electrode or the electrode that meets this requirement.
2: The method for opening the steel pipe is mechanical, and the type is single-V butt joint. Breaking angle 55-65 degrees, gap
It is 0-2mm, and the blunt edge is 0-2mm.
3: Welding equipment adopts BX series welding machine. The welding current type is AC and non-polar. The electrode must be used before use
It must be dried and kept warm for 1-2 hours.
4: Welding sequence adopts the order of lifting first, then standing, and then flat welding, combining the principle of first in, then out, first, then difficult, then easy.
Welding, the welding seam is formed by multi-layer welding, the welding seam is completed in three passes, and the welding rod is 3.2mm near the front pass.
Flow 120-140A: The second electrode is 4mm, current 140-160A: The third electrode is 4mm, current
Adopting 180-220A: the interlayer must be cleaned and inspected to pass the next welding. Welding appearance requirements must be
Must meet the specification requirements, the unqualified parts are cut by gas, and the polisher is repaired until it meets the requirements.
5: Precautions for welding:
1. Directly buried steel pipe construction, the distance between the centers of two adjacent ring welds is not less than 2m.
2. It is not allowed to heat and extend the length of the pipeline on both sides of the welding seam, and it is not allowed to use strong bolts to tighten and clamp the welding metal
Filling and other methods to take over the mouth.
3. Check the external dimensions and quality of the groove before the pipe and pipe fittings are aligned, the surface of the groove should be neat,
Smooth, no cracks, rust, slag and other debris affecting the quality of welding.
4. The roots must be fully penetrated, and wet weldments must be dried.
Pipeline anti-corrosion treatment
1: The anti-corrosion inner wall of the steel pipe and pipe fittings is made of cement mortar, and the outer wall is made of IPN8710 reinforced anti-corrosion paint (one bottom, one cloth and three oils).
2: The pipes used by our department all use the finished pipes of the manufacturer after anti-corrosion treatment.
The rational inspection method and inner wall treatment process and inspection method will be explained.
3: Inspection method of anti-corrosion treatment of the outer wall of the pipe:
(1) Curing inspection, using nails to engrave without leaving marks.
(2) The appearance of the anti-corrosion layer is smooth, without wrinkles and bulging, and the glass cloth mesh is filled with paint.
(3) Thickness testing, using the specified thickness as the standard, and testing with a thickness gauge.
(4) For the adhesion test, after the anti-corrosion layer is cured, the incision anti-corrosion layer should be torn hard, and it is not easy to tear, and no iron is exposed at the damage.
4: Construction method of the inner wall cement mortar anti-corrosion layer:
(1) The construction of the inner wall cement mortar adopts a single prefabricated factory first, after the pipeline installation and welding are completed, and the earth backfill deformation is stable, then the inner wall treatment of the interface is carried out.
(2) Before the construction of the inner wall mortar, the deformation of the pipeline should be checked first, and its vertical deformation is not greater than the design specified value, and should not be greater than 2% of the pipe diameter.
(3) Before construction, the pipe must be cleaned to remove loose scales, scum, soil, grease, welding slag, contaminants and other attachments on the inner wall of the pipe. The height of the weld of the inner wall of the pipe must not exceed three-thirds of the thickness of the mortar one.
(4) Except for the manual application of the interface, the rest are all mechanically sprayed.
(5) The cement mortar must be fully mixed with machinery. The consistency of the mortar should meet the requirements of uniform density in the mortar. The mortar should be used before the initial setting.
(6) The weight ratio of cement mortar can be selected in the range of 1: 1 ~ 1: 2, the slump of cement mortar should be 60 ~ -80mm, when the pipe diameter is less than 1000mm, it is allowed to increase, but it should not be greater than 120mm, and the cement mortar is compression resistant The strength should not be less than 30MPa.
(7) The elbows, three-way special pipe fittings and the pipe section near the gate valve can be applied by hand, and connected to the mechanical spraying with a smooth gradient section.
(8) After the cement mortar reaches the final setting, it must be cured by watering to keep the inner wall moist state for more than 7 days. During the maintenance, all holes in the pipe section are tightly closed. When the maintenance period is reached, fill the water in time, otherwise the maintenance will be continued.
5: Inner wall detection method of cement mortar:
(1) The thickness of mortar can be tested by drilling method and thickness gauge. If the thickness gauge is used, it must be verified by the inspection department. For pipes with a diameter of less than 800mm, take the two ends close to the pipe section for detection, and take 2 cross sections in the 100mm pipe section, each
Detect 2 points on one cross section. If one of the points fails, then take 4 more cross sections. If there are still 2 points that fail, the test section fails.
(2) Flatness of the mortar surface Use a 30mm ruler parallel to the axis of the pipe to determine the gap between the mortar surface and the ruler.
(3) The surface roughness of the mortar is compared with the model used in mechanical spraying. During manual application, the hand feels smooth and no sand feeling. When it is considered that the actual value of n needs to be tested, the flow test can be conducted after the pipeline is filled with water.
(4) Cracks caused by shrinkage of the mortar, but its width is less than or equal to 1.6mm and the length along the axis of the pipeline is not greater than the circumferential length of the pipeline and not greater than 5mm. Those who can heal automatically can be considered qualified.
(5) Surface defects of mortar (phenomenon, sand holes, hollows, etc.). Each place shall not be greater than 5cm, and the depth of a single defect shall not be greater than the value of the thickness tolerance according to the diameter of the pipe.
(6) Judging the hollow drum by the sound of the hammer hitting the surface of the mortar, the area of each hollow drum shall not be greater than 400cm2.
Valve, flange installation
1: Strictly inspect the valves, flanges and accessories for appearance and pressure test according to the requirements to ensure the construction quality.
2: Valve installation:
(1) Check the model carefully before installation, whether the specifications meet the design requirements, and determine the installation direction according to the direction of the water flow.
(2) Before installation, check whether the valve and valve disc are flexible, whether they are stuck or skewed, whether the valve disc is closed tightly, whether the packing is intact, whether the packing gland has sufficient adjustment margin, and whether a pressure test check has been carried out. Qualified valves shall not be installed.
(3) The installation position of the valve must not hinder the installation, operation and maintenance of the equipment, pipeline and valve itself. The installation height is generally 1 to 1.2 meters from the ground with the hand wheel.
(4) For valves on horizontal pipelines, the valve stem is generally installed in the upper semicircle, and the valve stem should not be installed downward. For valves on vertical pipelines, the valve stem should be installed along the direction of the tour operation channel, and should be arranged as concentrated as possible For easy operation.
(5) For threaded valve installation, a live joint must be installed at the outlet of the valve to facilitate disassembly and maintenance. The valve operating machinery and transmission device should be adjusted and set as necessary to make the transmission flexible and accurate instructions.
Pipe trench backfill
(1) During trench backfilling, both sides of the pipeline are evenly backfilled at the same time to avoid horizontal displacement of the pipeline.
(2) When backfilling, the fine soil should be returned first to prevent the stone and broken bricks from damaging the anticorrosion layer of the pipeline and steel pipe. The backfill should be divided into
The soil layer is compacted. When the water content of the soil layer is low, water is properly sprinkled to ensure that the soil layer is compacted.
(3) When backfilling, it is divided into two backfills, and the pipeline is removed except for the joint after the previous pipeline is laid and installed.
Backfill (the backfill height is not less than 0.5m), and the pipeline is backfilled again after passing the pipeline test.
Pipeline flushing and disinfection
Arrange the construction according to the requirements of the owner of the water source in the construction area. (Need to clean the water source), the specific operation is as follows:
(1) After the water pressure test, the water supply pipeline should be flushed and disinfected. When flushing, the water flow with a flow rate of not less than 1.0m / s should be used for continuous flushing until the turbidity at the outlet, the color and the turbidity at the inlet , Until the chroma is the same.
(2) After rinsing, irrigate the pipeline with 20-30mg of free chlorine per liter of water for disinfection. The chlorine-containing water should stay in the pipeline for more than 24 hours.
(3) After the disinfection is completed, rinse with drinking water, and after sampling and inspection by the relevant departments, it can be used only if it meets the national domestic water standards.
If you want to know more about it please do not hesitate to
contact me. WhatsApp:+86-15966835076.


