how to install outdoor siding wall board?
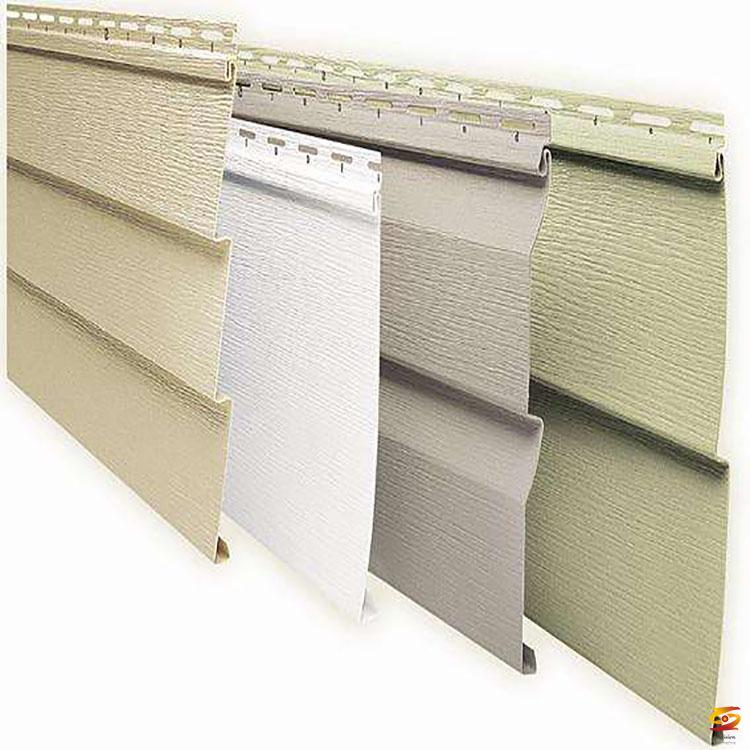
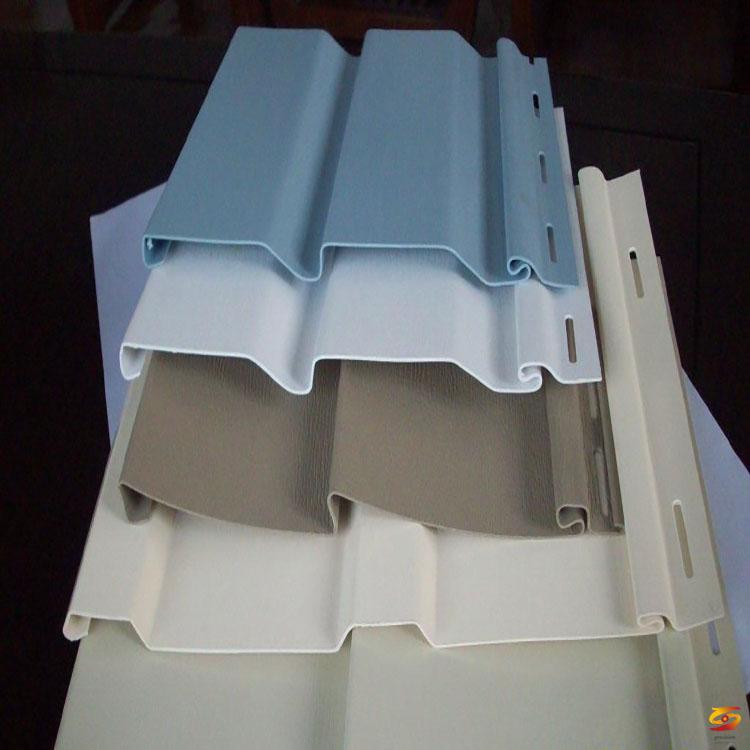
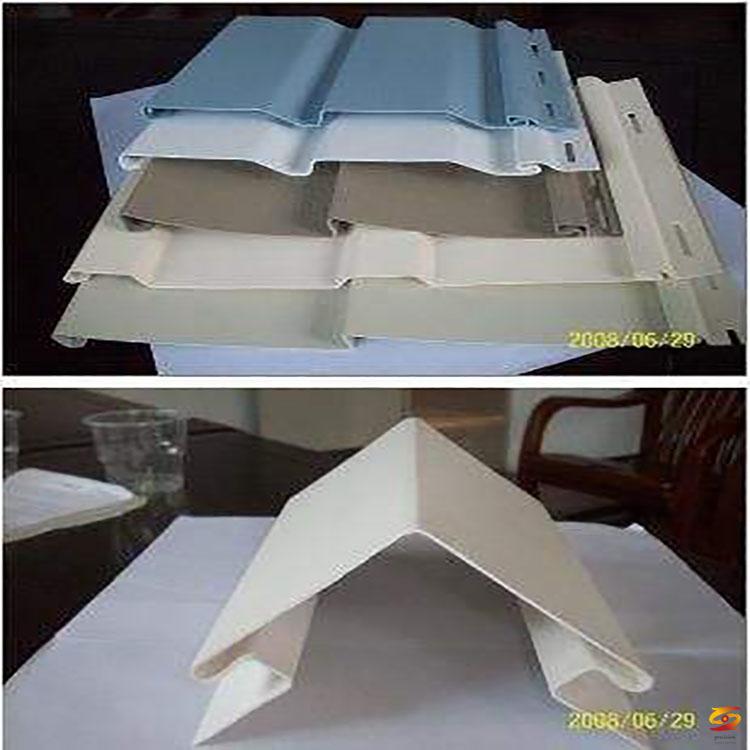
In addition to the main decorative plates, the external wall decoration hanging board is equipped with some necessary accessories such as inner corner posts, outer corner posts, starting strips, J-shaped strips, connecting strips, etc. in order to increase the decorative effect. In order to ensure the best decorative effect, it is also very important to install correctly. Here we will show you the basic installation steps and precautions of PVC decorative hanging board.Before installation, please determine the number of hanging boards and accessories used according to the actual situation of the house. In addition, the use of some suitable tools and equipment during the installation process will help to improve the installation speed and effect. Commonly used tools are: chainsaw (desktop or portable), hand hammer, fine-toothed straight blade saw, square ruler, spirit level, tape measure, ink line, protective glasses, tool knife, iron scissors; special tools are punch pliers, punch Hole pliers.
If the old house is being renovated, the installation surface should be thoroughly removed before installation. Nail the loose board, remove the damaged board, remove the loose filler, refill around the door and window and other places to prevent moisture, and fill all the gaps to ensure a good sealing effect of the house. When installing, it is best to use cold and heat resistant materials as the bottom plate, so that it can ensure the straightness and quality of the board surface, and it is easier to nail. If a new building is to be built, the frame studs must be vertical, and the studs must be neat and orderly.
If you have made the above preparations, you can install it.
1. First, set the ink line under the eaves, the top and bottom of the window, and determine the required height according to the specific situation.
2. Install the starting bar from the bottom, and leave space for the wrap angle, J-shaped bar and other accessories. Leave at least 6mm of room for expansion between the start bar and the start bar. Please nail the nail in the middle of the start bar. Note that the starting strip is parallel to the eaves and windows.
Construction Site
Installation of accessories
3. When installing the external corner post, leave a space of 6-8mm at the top, and nail the nail from the upper part. The first nail should be nailed to the upper end of the first nail hole, and the rest should be nailed to the middle of the nail hole And nail every 200mm. The installation of the inner corner column and the outer corner column are basically the same, and the precautions are basically the same. Both corner posts should be installed before the decorative panel is installed. Pay attention to the vertical and neatness of the two corner posts.
Start bar installation
Start bar installation
Installation of starting bar and hanging board Installation of connecting bar and hanging board
Connection bar installation
Installation of internal corner posts
Installation of outer corner and hanging board Installation of outer corner and hanging board
4. Use J-shaped strips to install around the window. The J-shaped strips on both sides of the window are a little higher than the window. Make a mark where the window is flush with the window. Connect with other J-shaped bars.
J-bar installation
Installation of the closing strip
Installation of J-shaped bar and closing bar Installation of J-shaped bar, closing bar and hanging board
5. When decorating the hanging board, install it from the bottom up, and leave a space of 8-10mm between the corner post and the hanging board to prevent thermal expansion and contraction. When installing, do not pull the decorative panel up and down to allow the decorative panel to sag naturally. The installed trim should be able to move freely on both sides. Please ensure that the bottom of the decorative plate is connected in place, and do not pull too tight when installing. When installing the horizontal decorative panel, connect the first decorative panel to the starting strip. Pay attention to the level and neatness between windows, eaves and adjacent wall panels. The level must be checked every time 5 to 6 hanging boards are installed. When nailing a nail, do not pull the trim panel up and down, and do not give any tension or pressure to the hanging panel. When installing the hanging board under the window sill, first mark the hanging board at the length of the window sill, cut it with scissors, and then use a utility knife to cut off the excess. Use punching pliers to make a hole every 20-40 cm at the cutting edge. When installing the board on the gable, first install the J-shaped strip on the top of the gable and nail it every 20-40cm. The overlap between the trim panels should be as far away as possible from the entrance or places with more people coming and going, which is conducive to improving the overall decorative effect.
If you want to know more about it please do not hesitate to
contact me. WhatsApp:+86-15966835076.
